How to Use Your Ultrasonic Sensor in Your Project
When using multiple sensors in an application, it’s important to connect them in a way that will allow you to avoid issues like crosstalk or any other interference.
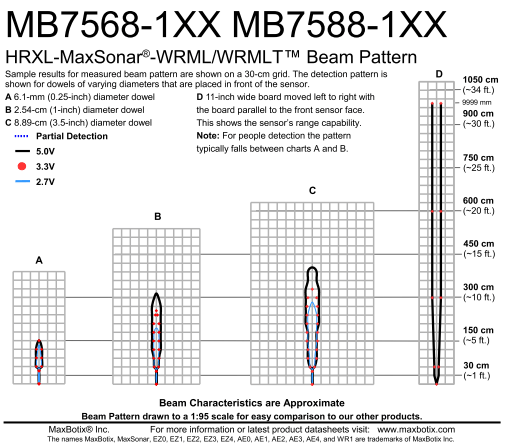
To prevent the disruption of the ultrasonic signals coming from your sensor, it’s important to keep the face of the ultrasonic transducer clear of any obstructions.
Using a different controller to our example and still need hand? Get in touch and our team can help.
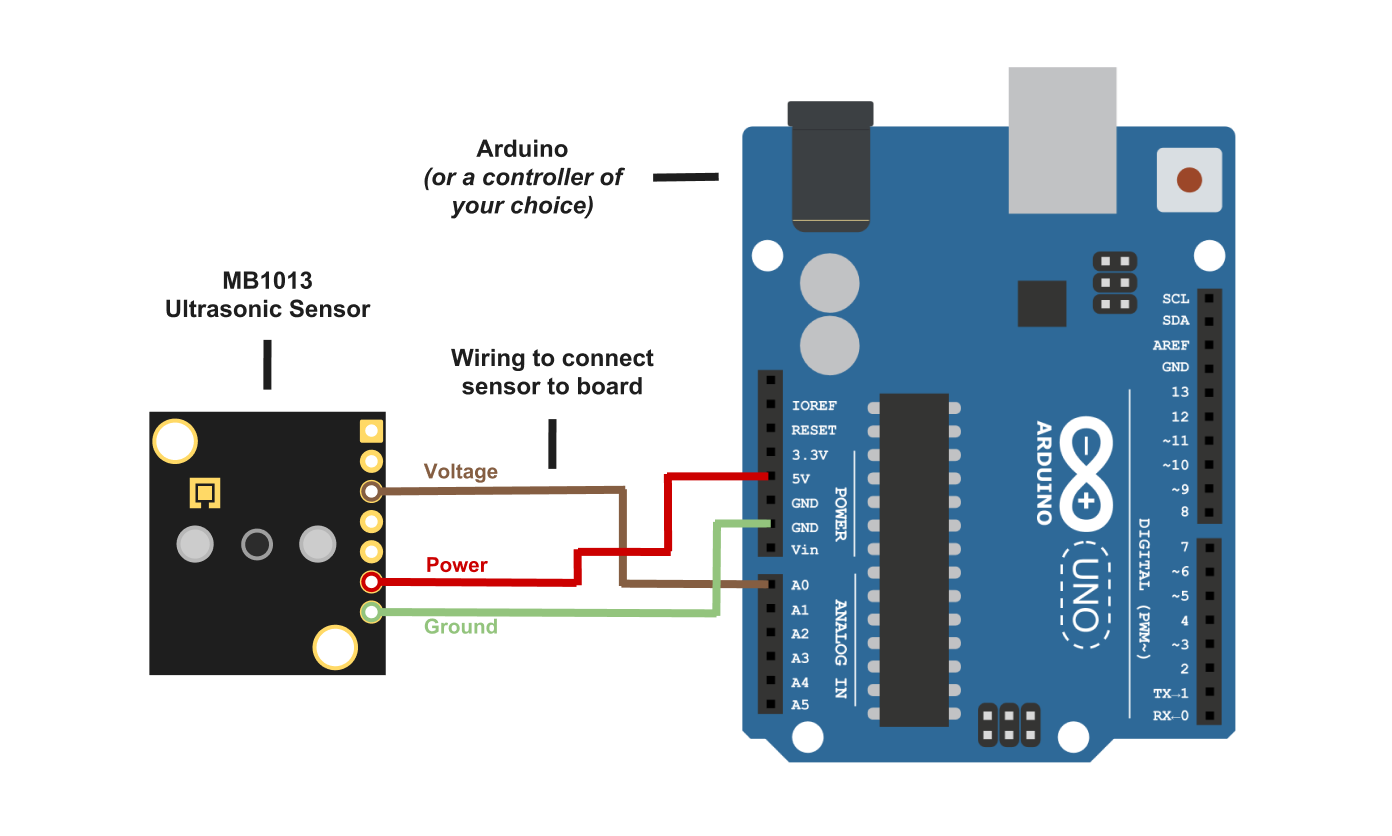
1. Hook-Up your Controller
We used an Arduino in this example, but you can use another controller and program of your choice.
2. Install relevant coding software to your PC
Install Arduino Sketch coding software on your PC. This is where you type the code you want to compile and send it to the Arduino board.
3. Set-up your sensor with Arduino
Plug your Arduino into the USB cable and into your computer. Once you upload Arduino, you can then compile and activate the code
4. Compile and run your code
The code below will allow you to read distances in centimeters.
Compile and run this code to obtain real-time distance measurements to the closest object.
(Please note: this code is not only for Arduino and will run on most controllers.)
const int anPin = 0;
long anVolt, cm;
void setup() { Serial.begin(9600);
}
void read_sensor(){
anVolt = analogRead(anPin); cm = anVolt/2;
}
void print_range(){ Serial.print(“Range = ”); Serial.print(cm);
Serial.print(” cm “); Serial.print('\n');
}
void loop() {
read_sensor();
print_range();
delay(100);
}


