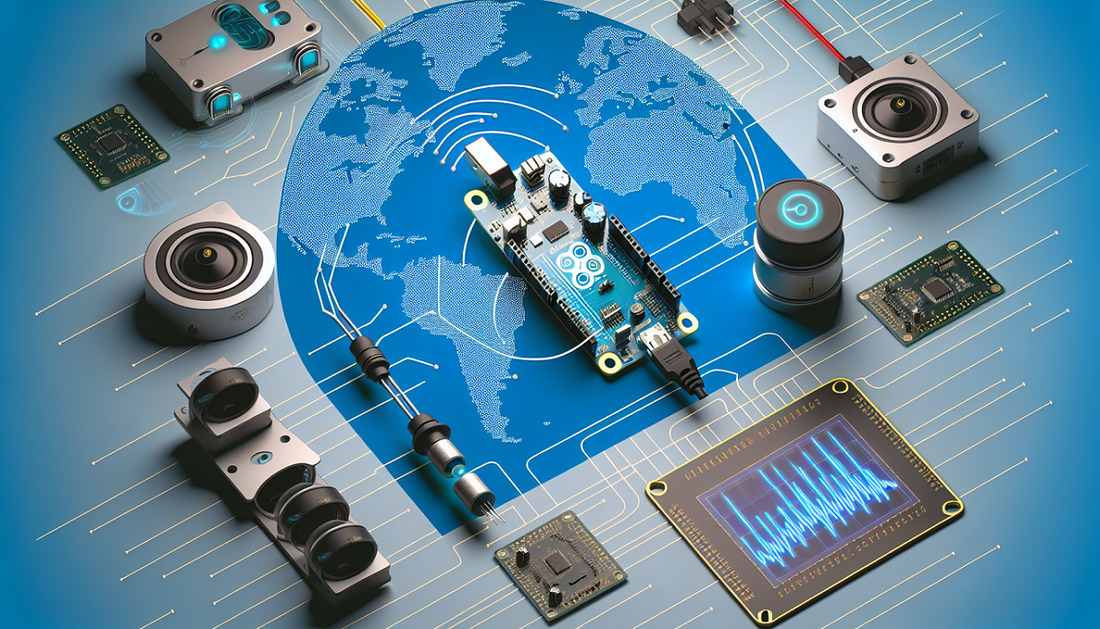
The Arduino programming language has become a cornerstone in the world of electronics projects. This versatile and user-friendly language enables engineers, product designers, and educators to create a wide range of innovative solutions. One key component often used in these projects is the ultrasonic sensor, which plays a crucial role in applications such as distance measurement and object detection.
In this article, we'll explore the Arduino programming language, its integrated development environment (IDE), and how it leverages the C language. We'll also provide a comprehensive guide on integrating ultrasonic sensors with Arduino, making this a valuable resource for anyone looking to enhance their projects with accurate and reliable sensor technology.
Understanding the Arduino Programming Language
The Arduino programming language is a simplified version of C/C++, designed to be easy for beginners while powerful enough for advanced users. It is essential to understand this language to effectively use sensors and other components in your projects.
The Arduino platform has evolved significantly since its inception. For a detailed background on its history and impact, you can refer to Arduino: History, Hardware, Software, and Applications - IEEE. Knowing the Arduino language allows you to:
- Write code to control sensors and actuators
- Create interactive and automated systems
- Debug and troubleshoot your projects more effectively
Basics of Arduino Coding Language
Getting started with the Arduino programming language is straightforward, even for beginners. The Arduino coding language is a simplified version of C++ designed to make programming accessible for everyone.
Here are the key elements of the Arduino coding language:
- Setup Function: This function runs once when the program starts. It is used to initialize variables, pin modes, and start using libraries.
- Loop Function: After the setup() function, the loop() function runs over and over again, allowing your program to change and respond continuously.
-
Comments: Comments are lines of text that the program ignores. They are used to explain code and make it easier to understand. Single-line comments start with
//, and multi-line comments are enclosed in/* ... */.
Here is an example of a simple Arduino program that blinks an LED:
void setup() {

